背景
我在 零成本搭建现代博客指南 系列文章里详细介绍了本博客的搭建过程,本站是基于 Hugo 框架生成的,并部署在 Vercel 平台上。
和最流行的 CMS 框架 Wordpress 不同,Hugo/Hexo/Gatsby 等静态站点生成的技术好处在于:
- 成本极低甚至免费,无需专门的 VPS 服务器,只需要将生成好的静态页面托管到 CDN/GitHub Pages/Vercel/Netlify/AWS S3 这类平台上即可;
- Wordpress 并发性能差,而静态博客只受限于与流量带宽的限制,不存在性能和并发问题。
但和 Wordpress 相比,因为全站都是静态化生成的页面,没有后台服务器的接口支持,无法实现一些很简单的带状态的功能,如不支持页面阅读数量统计功能。
这种 Jamstack 架构的站点要实现动态的功能,一般会采用 Serverless 的方式去实现。

为何要实现博客的访问统计功能
本博客早已接入了 Google Analytics ,但是为何还要实现博客的访问统计功能?一方面考虑到文章的阅读数量可以供读者更容易识别此篇文章是否是热门文章,另一方面这种阅读量数据对百度 SEO 有正向提升作用。Google Analytics 的问题在于一旦用户安装了某些屏蔽广告插件后,同时也会导致 GA 无法正常工作,根据某些文章统计说一般会损失近 10% 的流量统计。
实现访问统计功能的技术选择
在选择实现此功能的过程中,我有如下选择:
- 使用 Vercel/Netlify 提供的 Serverless Functions,这种方式可以参考这篇 Building a Modern-Day Hit Counter ;
- 使用 Next.js 框架,这种方式可以参考这篇 Real-Time Blog Post Views With Next.js and Firebase ;
- 使用基于 AWS 的 Serverless 架构实现。
因为之前使用过 Terraform 实现基于 AWS 平台的 Serverless 架构,具体过程可以参加这篇 Serverless应用开发小记 ,所以我最终选择了第三种方式去做。
这次我使用 Pulumi 实现 Serverless 架构。Pulumi 相比 Terraform 的优势在于可以以编程方式实现 Infrastructure as code ,相信看完该篇文章你就能知道它的强大了。
使用 Pulumi 实现博客访问统计接口
先创建一个 Pulumi 工程:
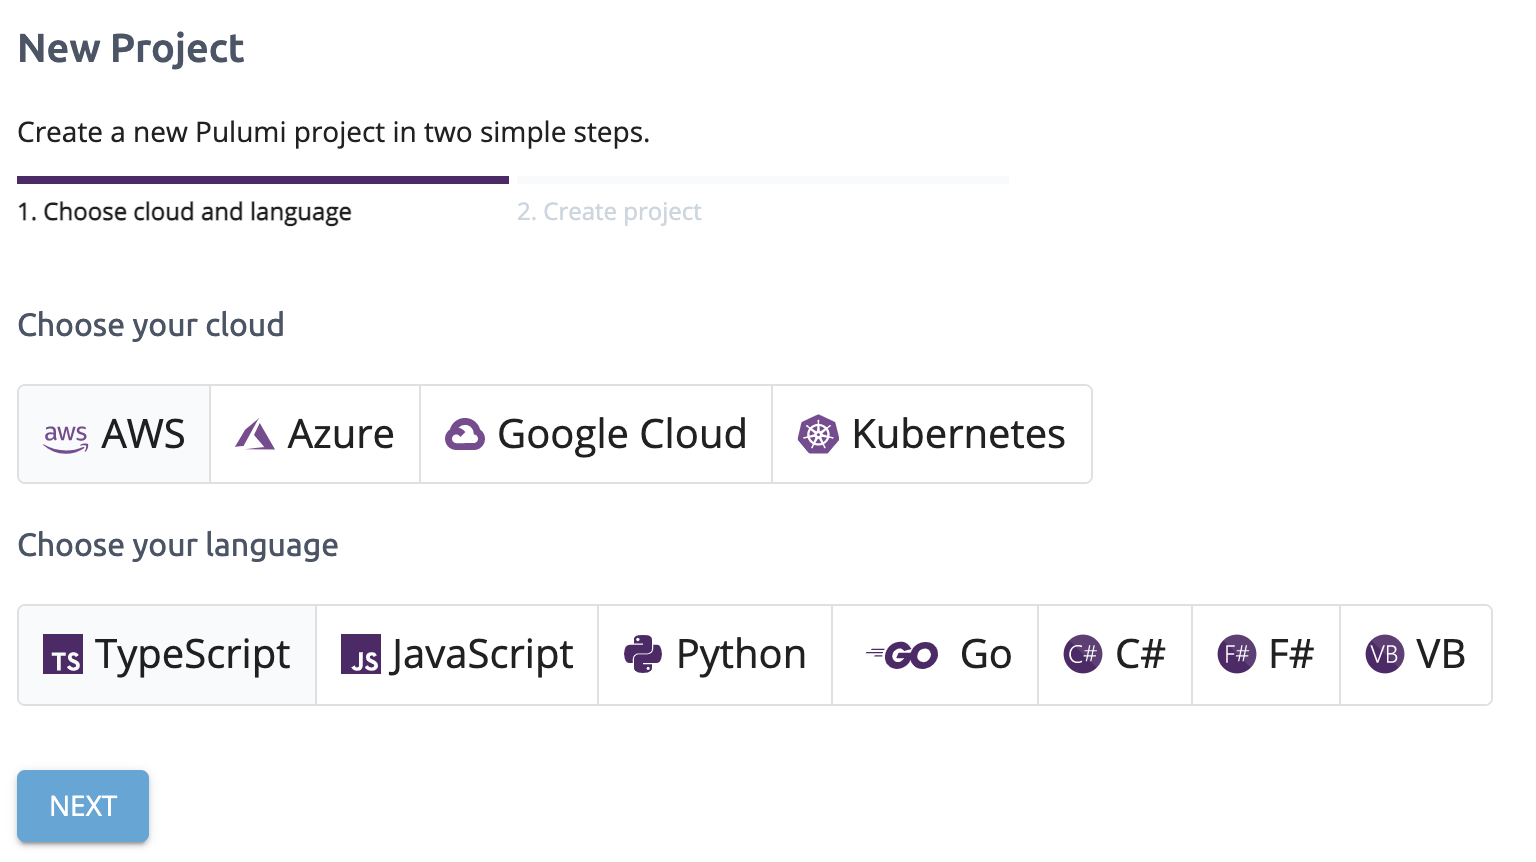
我们选 AWS + TypeScript 。
之后按提示创建目录及安装依赖,工程目录如下:
.
├── Pulumi.dev.yaml
├── Pulumi.yaml
├── README.md
├── index.ts
├── package-lock.json
├── package.json
└── tsconfig.json
只需要编辑 index.ts 即可,代码如下:
import * as aws from "@pulumi/aws";
import * as awsx from "@pulumi/awsx";
import * as pulumi from "@pulumi/pulumi";

// Create a mapping from 'route' to a count
const counterTable = new aws.dynamodb.Table("api-bmpi-dev", {
    attributes: [{
        name: "id",
        type: "S",
    }],
    hashKey: "id",
    readCapacity: 5,
    writeCapacity: 5,
});

// let bmpiAllPageViewsRoute = "bmpi-dev-all-page-views"; // all page views key

// Create an views API endpoint
const viewsEndpoint = new awsx.apigateway.API("bmpi-dev-post-views", {
    routes: [{
        path: "/{route+}",
        method: "GET",
        eventHandler: async (event) => {
            const route = event.pathParameters!["route"];

            console.log(`Getting count for '${route}'`);

            const client = new aws.sdk.DynamoDB.DocumentClient();

            const result = await client.update({
                TableName: counterTable.name.get(),
                Key: { id: route },
                UpdateExpression: "SET hit = if_not_exists(hit, :zero) + :incr",
                ExpressionAttributeValues: { ":zero": 0, ":incr": 1 },
                ReturnValues:"UPDATED_NEW",
            }).promise();

            let count = result.Attributes!.hit;

            return {
                statusCode: 200,
                headers: {
                    "Access-Control-Allow-Headers" : "Content-Type",
                    "Access-Control-Allow-Origin": "https://www.bmpi.dev",
                    "Access-Control-Allow-Methods": "OPTIONS,POST,GET"
                },
                body: JSON.stringify({ route, count }),
            };
        },
    }],
});

// We have registered a domain, and a cert already (we could do most of this with Pulumi as well if we wanted!)
let domainName = "api.bmpi.dev"; // `bmpi.dev` is regitered with Route53
let route53DomainZoneId = "Z3D746J1ZFXBYQ"; // The Hosted Zone I got when I registered `bmpi.dev`
let certARN = "arn:aws:acm:us-east-1:745121664662:certificate/6e610430-46c8-4884-a1f7-471be45decf4"; // ACM cert for `*.bmpi.dev`

// API Gateway requires we register the Domain with it first
const domain = new aws.apigateway.DomainName("domain", {
    certificateArn: certARN,
    domainName: domainName,
});

// Then we can map a REST API to a domain with a BasePathMapping
const mapping = new aws.apigateway.BasePathMapping("mapping", {
    restApi: viewsEndpoint.restAPI,
    basePath: "page-views", // We map our API into the "/page-views" base path
    stageName: viewsEndpoint.stage.stageName, // We map the stage we got for free with `.x.API` above
    domainName: domain.domainName, // We map it into the domain we registered above
});

// Finally, we need a DNS reocrd to point at our API Gateway
const record = new aws.route53.Record("record", {
    type: "A",
    zoneId: route53DomainZoneId,
    name: domainName, // Write a record for `api.bmpi.dev` into the zone for `bmpi.dev`
    aliases: [{
        name: domain.cloudfrontDomainName, // APIGateway provides it's own CloudFront distribution we can point at...
        zoneId: domain.cloudfrontZoneId,
        evaluateTargetHealth: true,
    }],
});

// It might take a while after we deploy the record above before the DNS propagates and allows us to resolve these URLs...
export let endpoint = pulumi.interpolate`https://${record.name}/page-views`;
所有的代码就这些,然后一键部署上线:
pulumi up
不到 100 行的代码我们完成了什么功能?
- 创建一个 dynamodb 表;
- 实现了一个 Serverless API,支持以原子性更新特定 URL 的访问计数,并且开启了
CORS支持; - 创建了一个 API Gateway 并且绑定了
api.bmpi.dev域名且开启了 HTTPS 支持; - 创建了
api.bmpi.dev域名的 DNS 记录; - 输出了此接口的请求地址。
体会到 Pulumi 的强大了吗?一行代码完成了很多基础设施的配置,这就是 IaC 的强大!
之后的工作就简单了,我们只需要在页面通过 JS 调用此接口即可,代码见这个 commit: add post page hit count feature 。
最终效果见:

总结
Jamstack + Serverless 是实现现代 Web 开发很流行的方式,尤其是在做一些个人项目的时候,一个人就是一个团队。